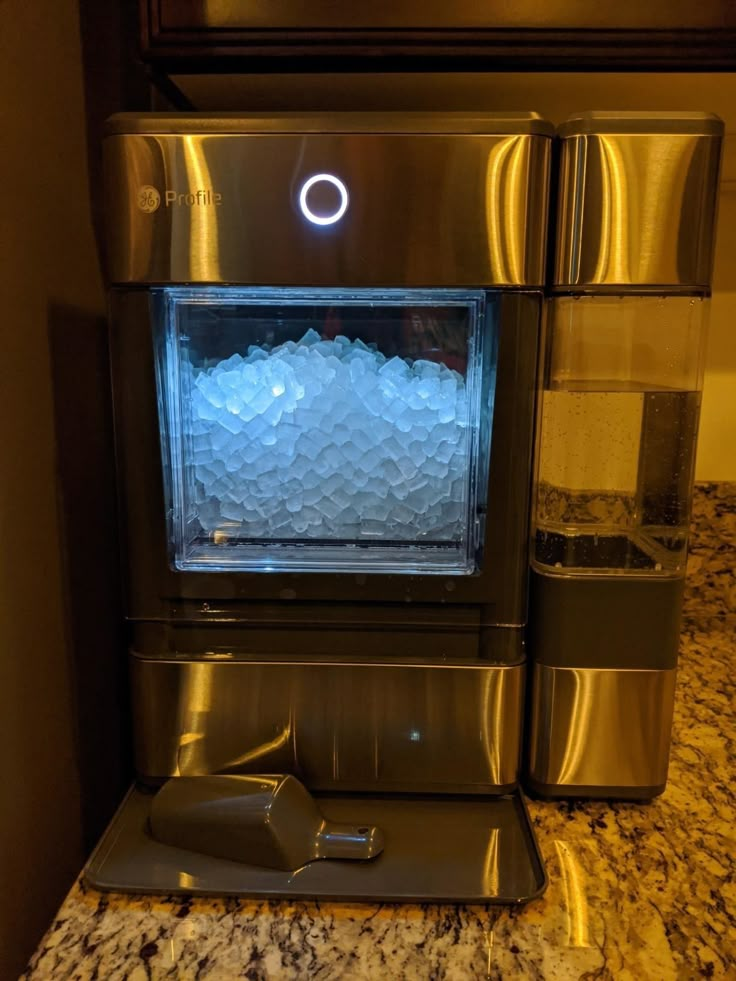
While dedicated crushed ice maker offer ultimate convenience, you don’t need a specialized appliance to enjoy the benefits of finely crushed ice for your cocktails, smoothies, or refreshing beverages. With a few common kitchen tools and a bit of elbow grease, you can easily transform regular ice cubes into the perfect crushed consistency. This article will guide you through several effective methods for making crushed ice at home, ensuring you’re always ready to whip up your favorite frosty treats, even without a dedicated machine.
1. The Blender Method: Quick and Efficient
A powerful blender is often the quickest and most efficient way to make crushed ice at home.
- Tools Needed: A sturdy blender (preferably with an “ice crush” or “pulse” setting), ice cubes.
- Process:
- Place a moderate amount of ice cubes into the blender jar. Avoid overfilling, as this can strain the motor and result in uneven crushing. Fill the jar about one-third to halfway.
- Use the “pulse” setting. This allows you to control the consistency and prevents the ice from melting too quickly or turning into a watery slush.
- Pulse in short bursts, shaking the blender occasionally to redistribute the ice.
- Continue pulsing until you reach your desired consistency – from coarsely crushed to finely shaved.
- Tips:
- For best results, use firm, solid ice cubes.
- If your blender struggles, add a tiny splash of water (a tablespoon or two) to help the blades catch the ice, but be careful not to add too much, or you’ll end up with slush.
- Avoid continuous blending, as the friction can melt the ice quickly.
2. The Bag and Mallet/Rolling Pin Method: Classic and Effective
This method is simple, requires minimal tools, and is great for releasing some pent-up energy!
- Tools Needed: A sturdy, resealable freezer bag (heavy-duty Ziploc or canvas bag), a meat mallet, rolling pin, or even a heavy pan.
- Process:
- Place a single layer of ice cubes into the freezer bag. Do not overfill the bag; work in small batches.
- Seal the bag, ensuring as much air as possible is removed. You can double-bag it for extra protection against punctures.
- Place the bag on a sturdy, flat surface, like a cutting board or a kitchen towel (to absorb shock and reduce noise).
- Using your mallet, rolling pin, or pan, firmly but carefully strike or roll over the ice cubes. Start with gentle taps to break them into smaller pieces, then increase force as needed.
- Continue until the ice reaches your desired crushed consistency.
- Tips:
- A canvas ice bag (often used by bartenders) is ideal as it absorbs moisture and prevents the ice from sticking together.
- For finer ice, roll the rolling pin over the crushed ice with firm pressure.
- Be mindful of noise, especially if you have sensitive neighbors!
3. The Food Processor Method: Good Control
A food processor can also be used to make crushed ice, offering decent control over the final texture.
- Tools Needed: A food processor with a sharp blade, ice cubes.
- Process:
- Add a small to moderate amount of ice cubes to the food processor bowl.
- Use the “pulse” setting. Similar to a blender, pulsing gives you control.
- Pulse in short bursts until the ice is crushed to your liking.
- Tips:
- Ensure your food processor blades are sharp for efficient crushing.
- Avoid running the processor continuously, as it can quickly turn ice into water.
4. The Cocktail Shaker/Muddler Method: For Small Batches
This method is best for very small quantities, often for a single cocktail.
- Tools Needed: A sturdy metal cocktail shaker, a muddler or the back of a wooden spoon, ice cubes.
- Process:
- Place a few ice cubes into the metal cocktail shaker.
- Use the muddler (or spoon) to vigorously smash the ice cubes against the sides and bottom of the shaker.
- Continue until the ice is crushed.
- Tips:
- This method is labor-intensive and only suitable for 1-2 drinks.
- Be careful not to damage your shaker if it’s not designed for heavy smashing.
Conclusion
While a dedicated crushed ice maker offers unparalleled convenience, these manual methods prove that you can still enjoy perfectly crushed ice at home with tools you likely already own. Whether you opt for the speed of a blender, the satisfying smash of a mallet, or the controlled chop of a food processor, you’ll be able to whip up refreshing drinks and desserts with ease, adding that special touch of crushed ice whenever you desire.


